


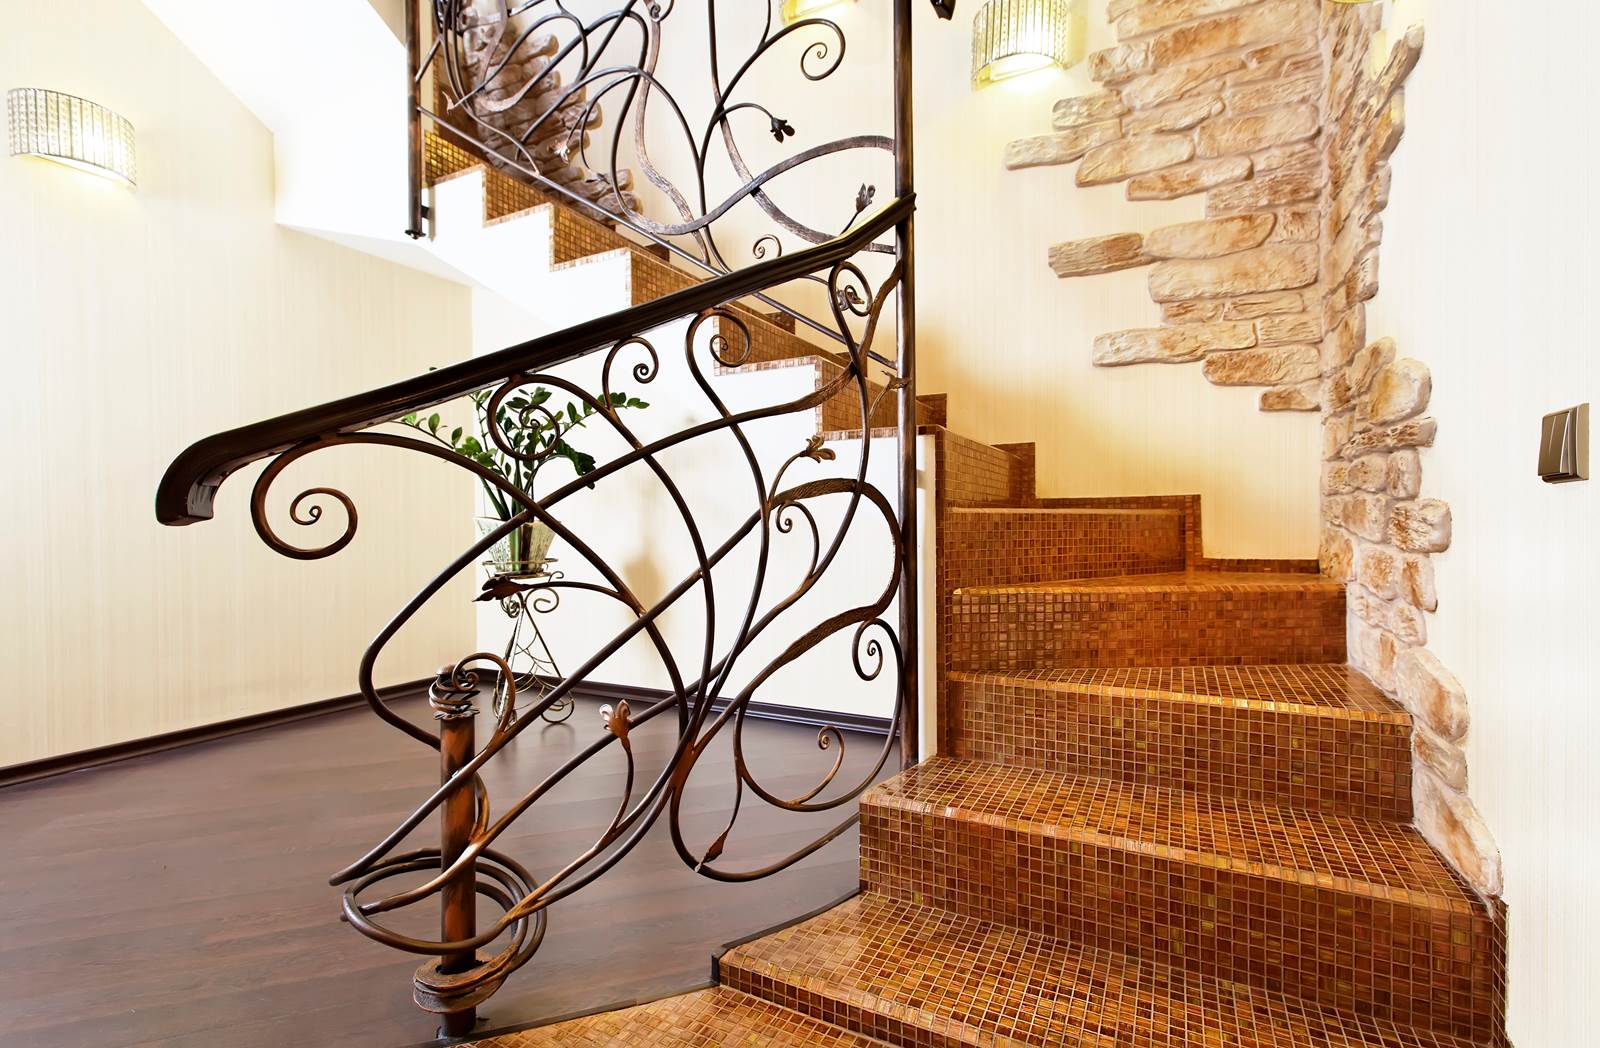
Handrails come in many forms, and can be made from many materials: timber, iron, stainless steel. Building regulations state for health and safety that a handrail is needed if there are more than 2 stairs and it has to be between 34 to 38 inches above the stairway treads.
Measurement to Determine Handrail Length
The first thing you have to do is measure the stairs to get the correct length for the handrail. Measure from the top of the staircase to the bottom and add 2ft to your measurement, so that there will be a slight overhang at each end, this makes it easier to grip the handrail.
Location and Marking of Studs
The brackets that anchor the handrail need to be attached to studs or sturdy posts. Use a stud finder to locate the studs where the brackets will be positioned. Make a mark on the wall or posts to indicate the position of each stud. Handrail brackets should be installed every 4ft, as well as one in the center, one 1ft away from the top, and another 1ft from the bottom.
Attach Handrail Brackets to Wall
Position and attach the handrail brackets to the wall at the reference marks you made on the stud lines.
Attach Handrail to Brackets
Position the handrail so it rests on the brackets, making sure it has the proper overhang at the top and bottom. Secure the handrail to the support brackets with the U-shaped sleeves that fit around the arms of the brackets.
For professional manufacture and installation of handrails, iron railings, iron fences and iron gates, call Chicago Iron Railings And More. Our railing contractor Chicago team can professionally install iron railings and handrails that are strong and look great, all at a fantastic price!